I have just finished painting a mural at Sunrise Christian School in Marion. The surface was a challenge because some sections were brick, some corrugated iron and some were smooth rendered walls.
This is also the most challenging project to photograph because it is on a curved building that goes into the boys and girls toilets.
When designing the mural, I carefully considered what was achievable on each surface. It is a lot more challenging to paint detailed patterns on a corrugated surface, so I made these sections have large, bold shapes.
The brick wall had loads of patterns and the rendered walls were the easiest to paint on and had the text of the school motto “Hearts and Minds”.
Planning:
Schedule a meeting
Meet with the teacher or principal organising the project and discuss the vision and budget for the project.
I love this part, it’s where you get to dream up ideas and listen to the client to see what their school culture is and the outcome they are hoping to get from the mural.
Design Stage:
Design the mural
When designing the mural, you need to consider the surface, location, and the community that you are painting it for.
Will it be inspiring for the students?
Will it be loved by the teachers, admin, grounds staff and parents?
You definitely can’t please everyone with art, but considering they will be the people seeing it every day, it’s important to listen and consider what they want. When I’m designing a mural for a school, I want it to be something that inspires and celebrates creativity.
I create three designs for my clients so they can select their favourite. Each design is unique and specific for that surface and location. This gives the school the chance to discuss and vote on their favourite.
Consider the surface
Consider the surface and what you can achieve with it. You might need a ladder, scissor lift or it might all be ground level. If you need a scissor lift, what is the accessibility like and will this be an issue to be painting during the school term?
Collaborate
Work with the teachers, leaders and students as much as possible.
My favourite part of painting at a school is the opportunity for collaboration and learning. Students can be involved in the planning, designing, quoting, and painting stages.
It’s their school and the response to something they have assisted with will have a huge impact.
For this mural, because of the location being the entry to the boys and girls toilets, it was best to install during the holidays, without the students.
Installation:
Painters Tape
Tape off windows, doors and anything you don’t want to get paint on. I use good quality blue tape in various thicknesses to tape off around the mural. Plastic on a tape roll is also really handy for protecting surfaces from aerosol overspray.
Preparation
Letdown drop sheets and give the whole surface an undercoat or primer if needed. If the surface is raw brick or raw corrugated iron, you will need to prime. More info on priming corrugated and brick on these blog posts.
Sketch
Sketch out the design. There are various methods to sketching out your design on the wall. You can freehand it with aerosol, you can use chalk, you can project it or your can use Rone’s doodle grid technique.
Most of the time, for my designs I freehand sketch with aerosol and build up layers. Occasionally I use chalk and an overlay technique. It does depend on your drawing skills and the design.
Go with what feels comfortable for you.
Paint large shapes
Fill in the large shapes. To save the environment, where every possible I use acrylic exterior paint to fill in the large shapes of colour, before adding detail.
This means less aerosol and is more cost effective as well.
Most acrylic paint needs at least two coats.
Paint Details
Add the details. Using aerosol I add detail to my designs by switching to a skinny cap on the aerosol and adjusting the angle of my can to the surface. Coming in nice and close you will get a sharp line on the surface and you can create patterns the same way.
Extra Tips
Use painter's tape where needed or a fine brush. I even spray aerosol into a cap or cup to apply with a brush when it is a tricky spot to spray. Like a sharp corner in the design.
Remember to wear the correct safety equipment when using aerosol.
Working with students takes longer to install a mural, allow time to teach, collaborate and refine their ideas.
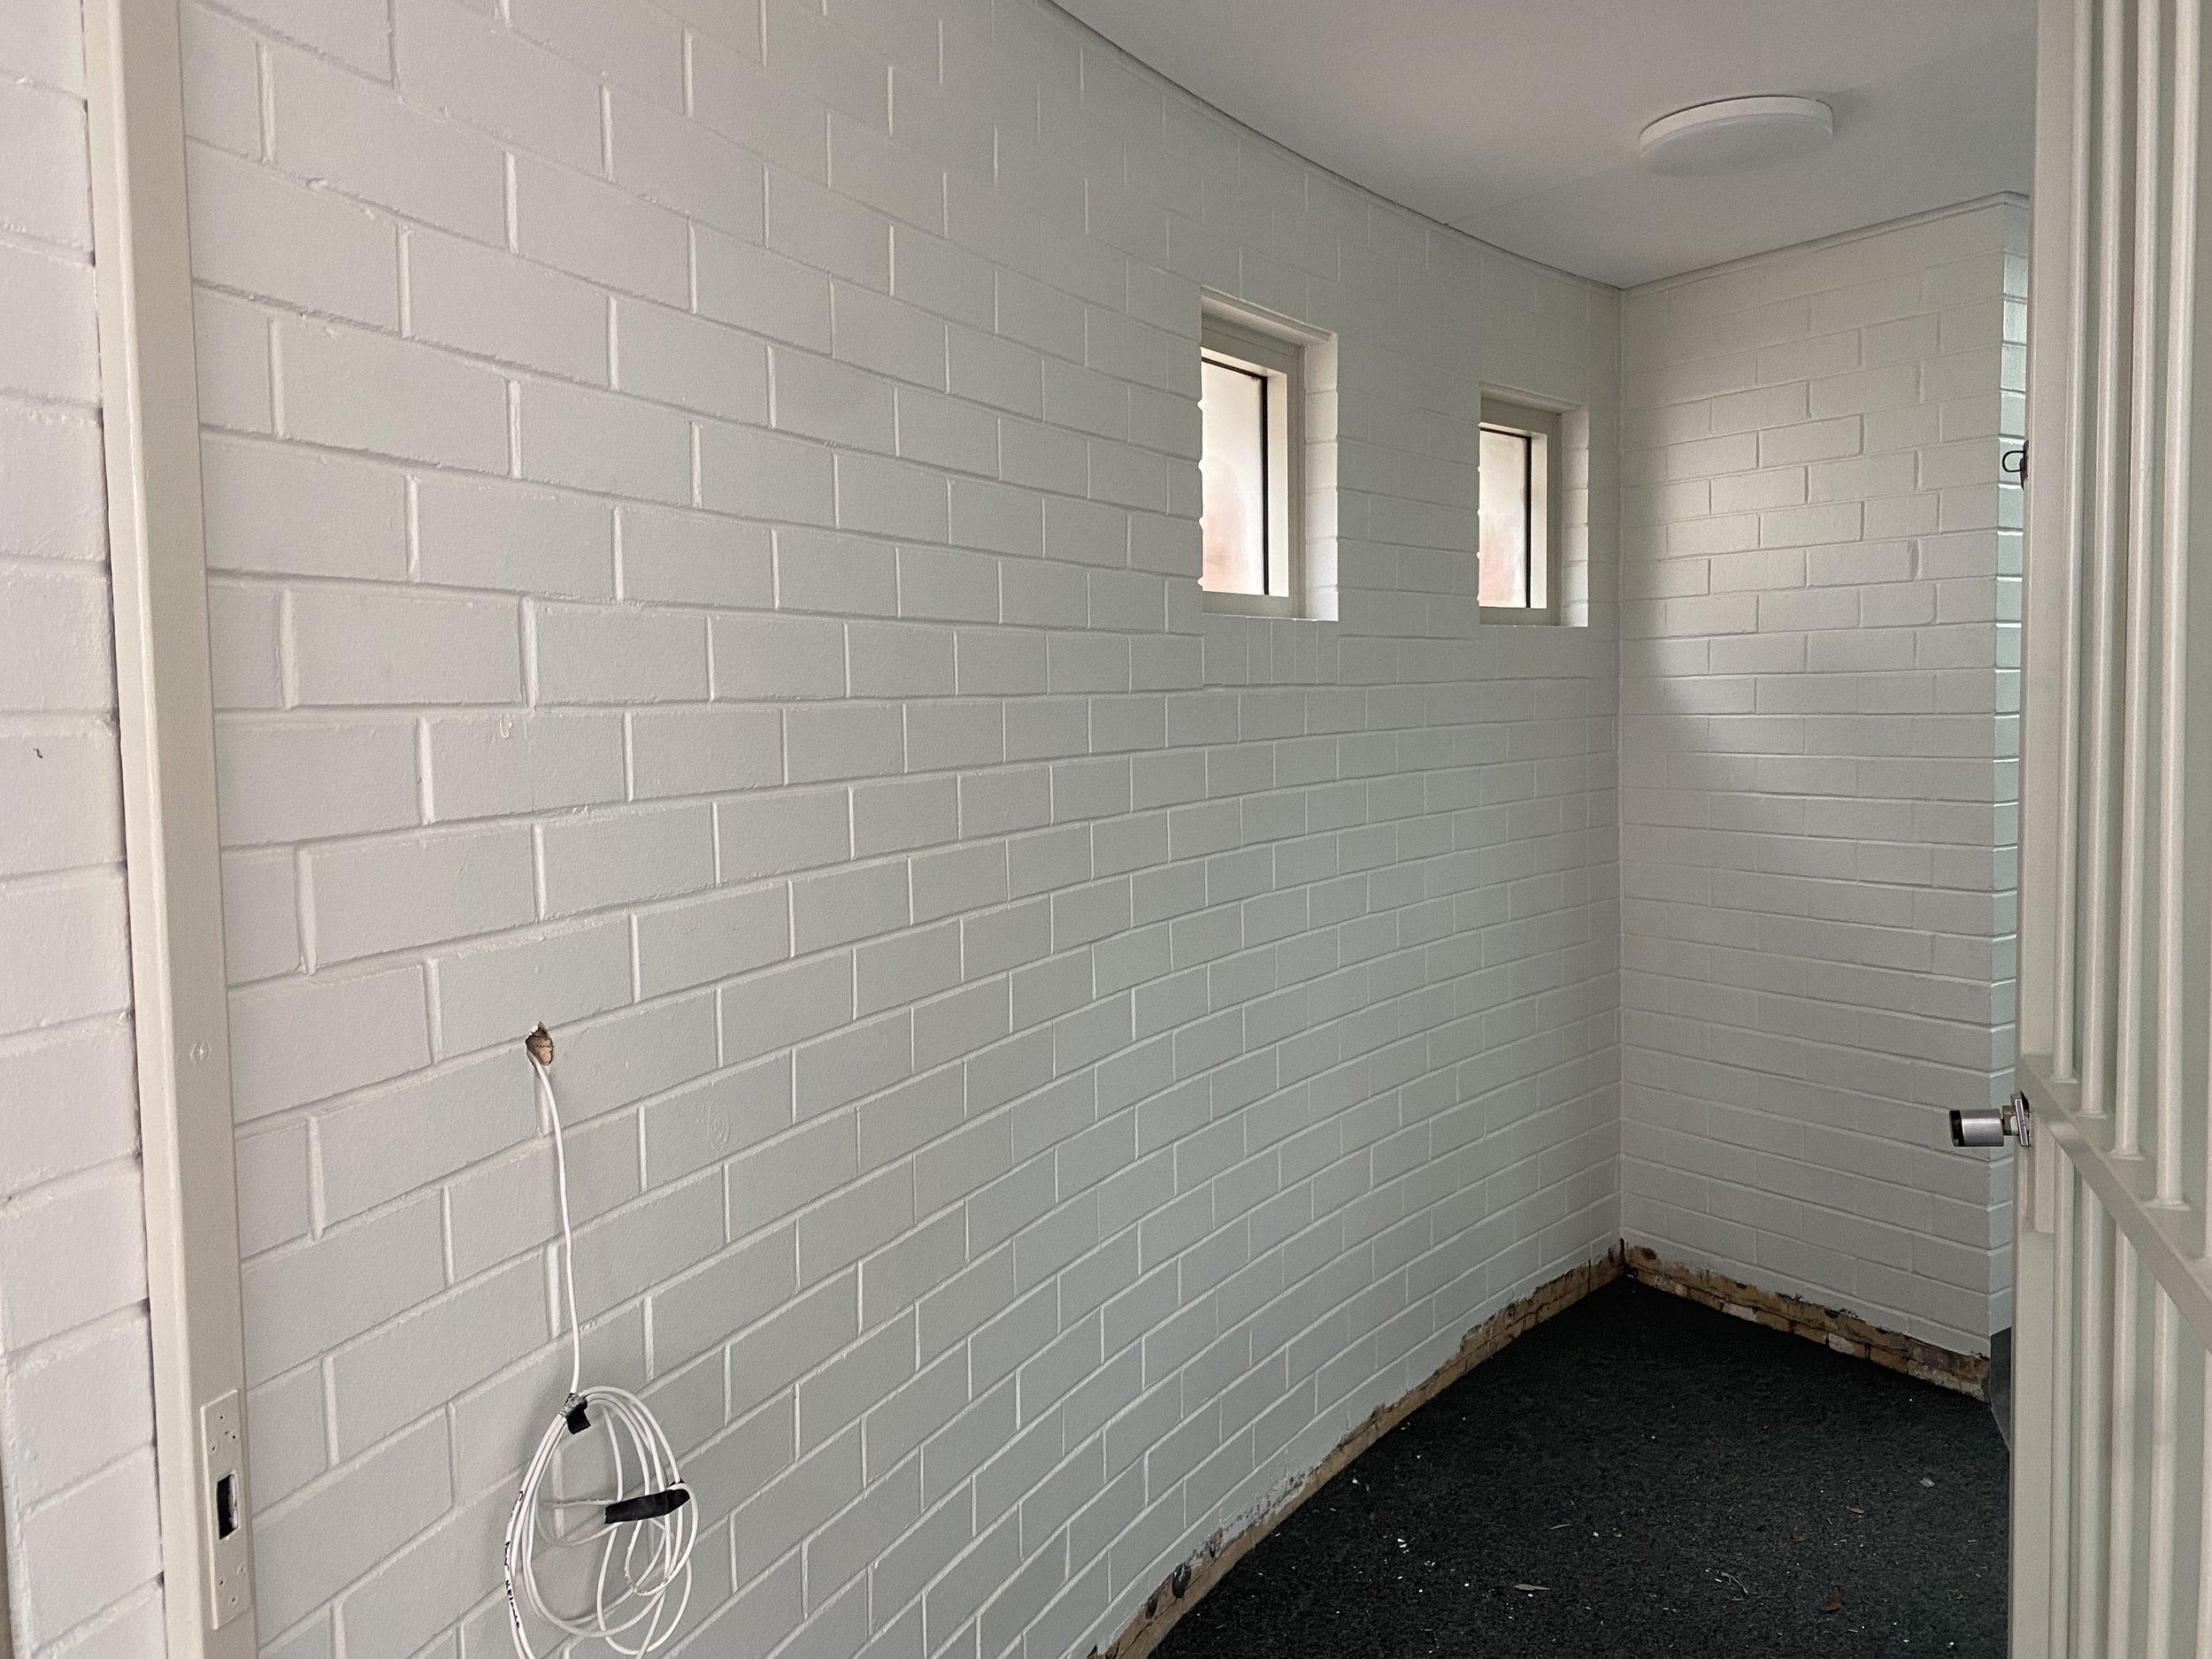
Before - boys entry to toilets.
After - boys entry to toilets
Thank you to the staff at Sunrise Christian School for working with me on this project. It was fabulous to visit another thriving campus. I’ve now painted at their Paradise, Whyalla and Marion campus! Each project was very unique and a great experience. Special thank you to Principal Henry Engelbrecht, Mark Nokes, Sonja Hosking and the maintenance team who I worked closely with.
Thank you to the students who I met on my final day of painting. Osch had started and they were very excited and complimentary of their new toilet mural. One student said to me “That is beautiful”. Is there any better feedback than that?
School will return next week and the rest of the school will get to see this mural for the first time.
“I really like how Leah sent us a video link with the concept presentation to talk about the design, that’s really helpful and makes it personal! It’s very evident Leah loves what she does.”


