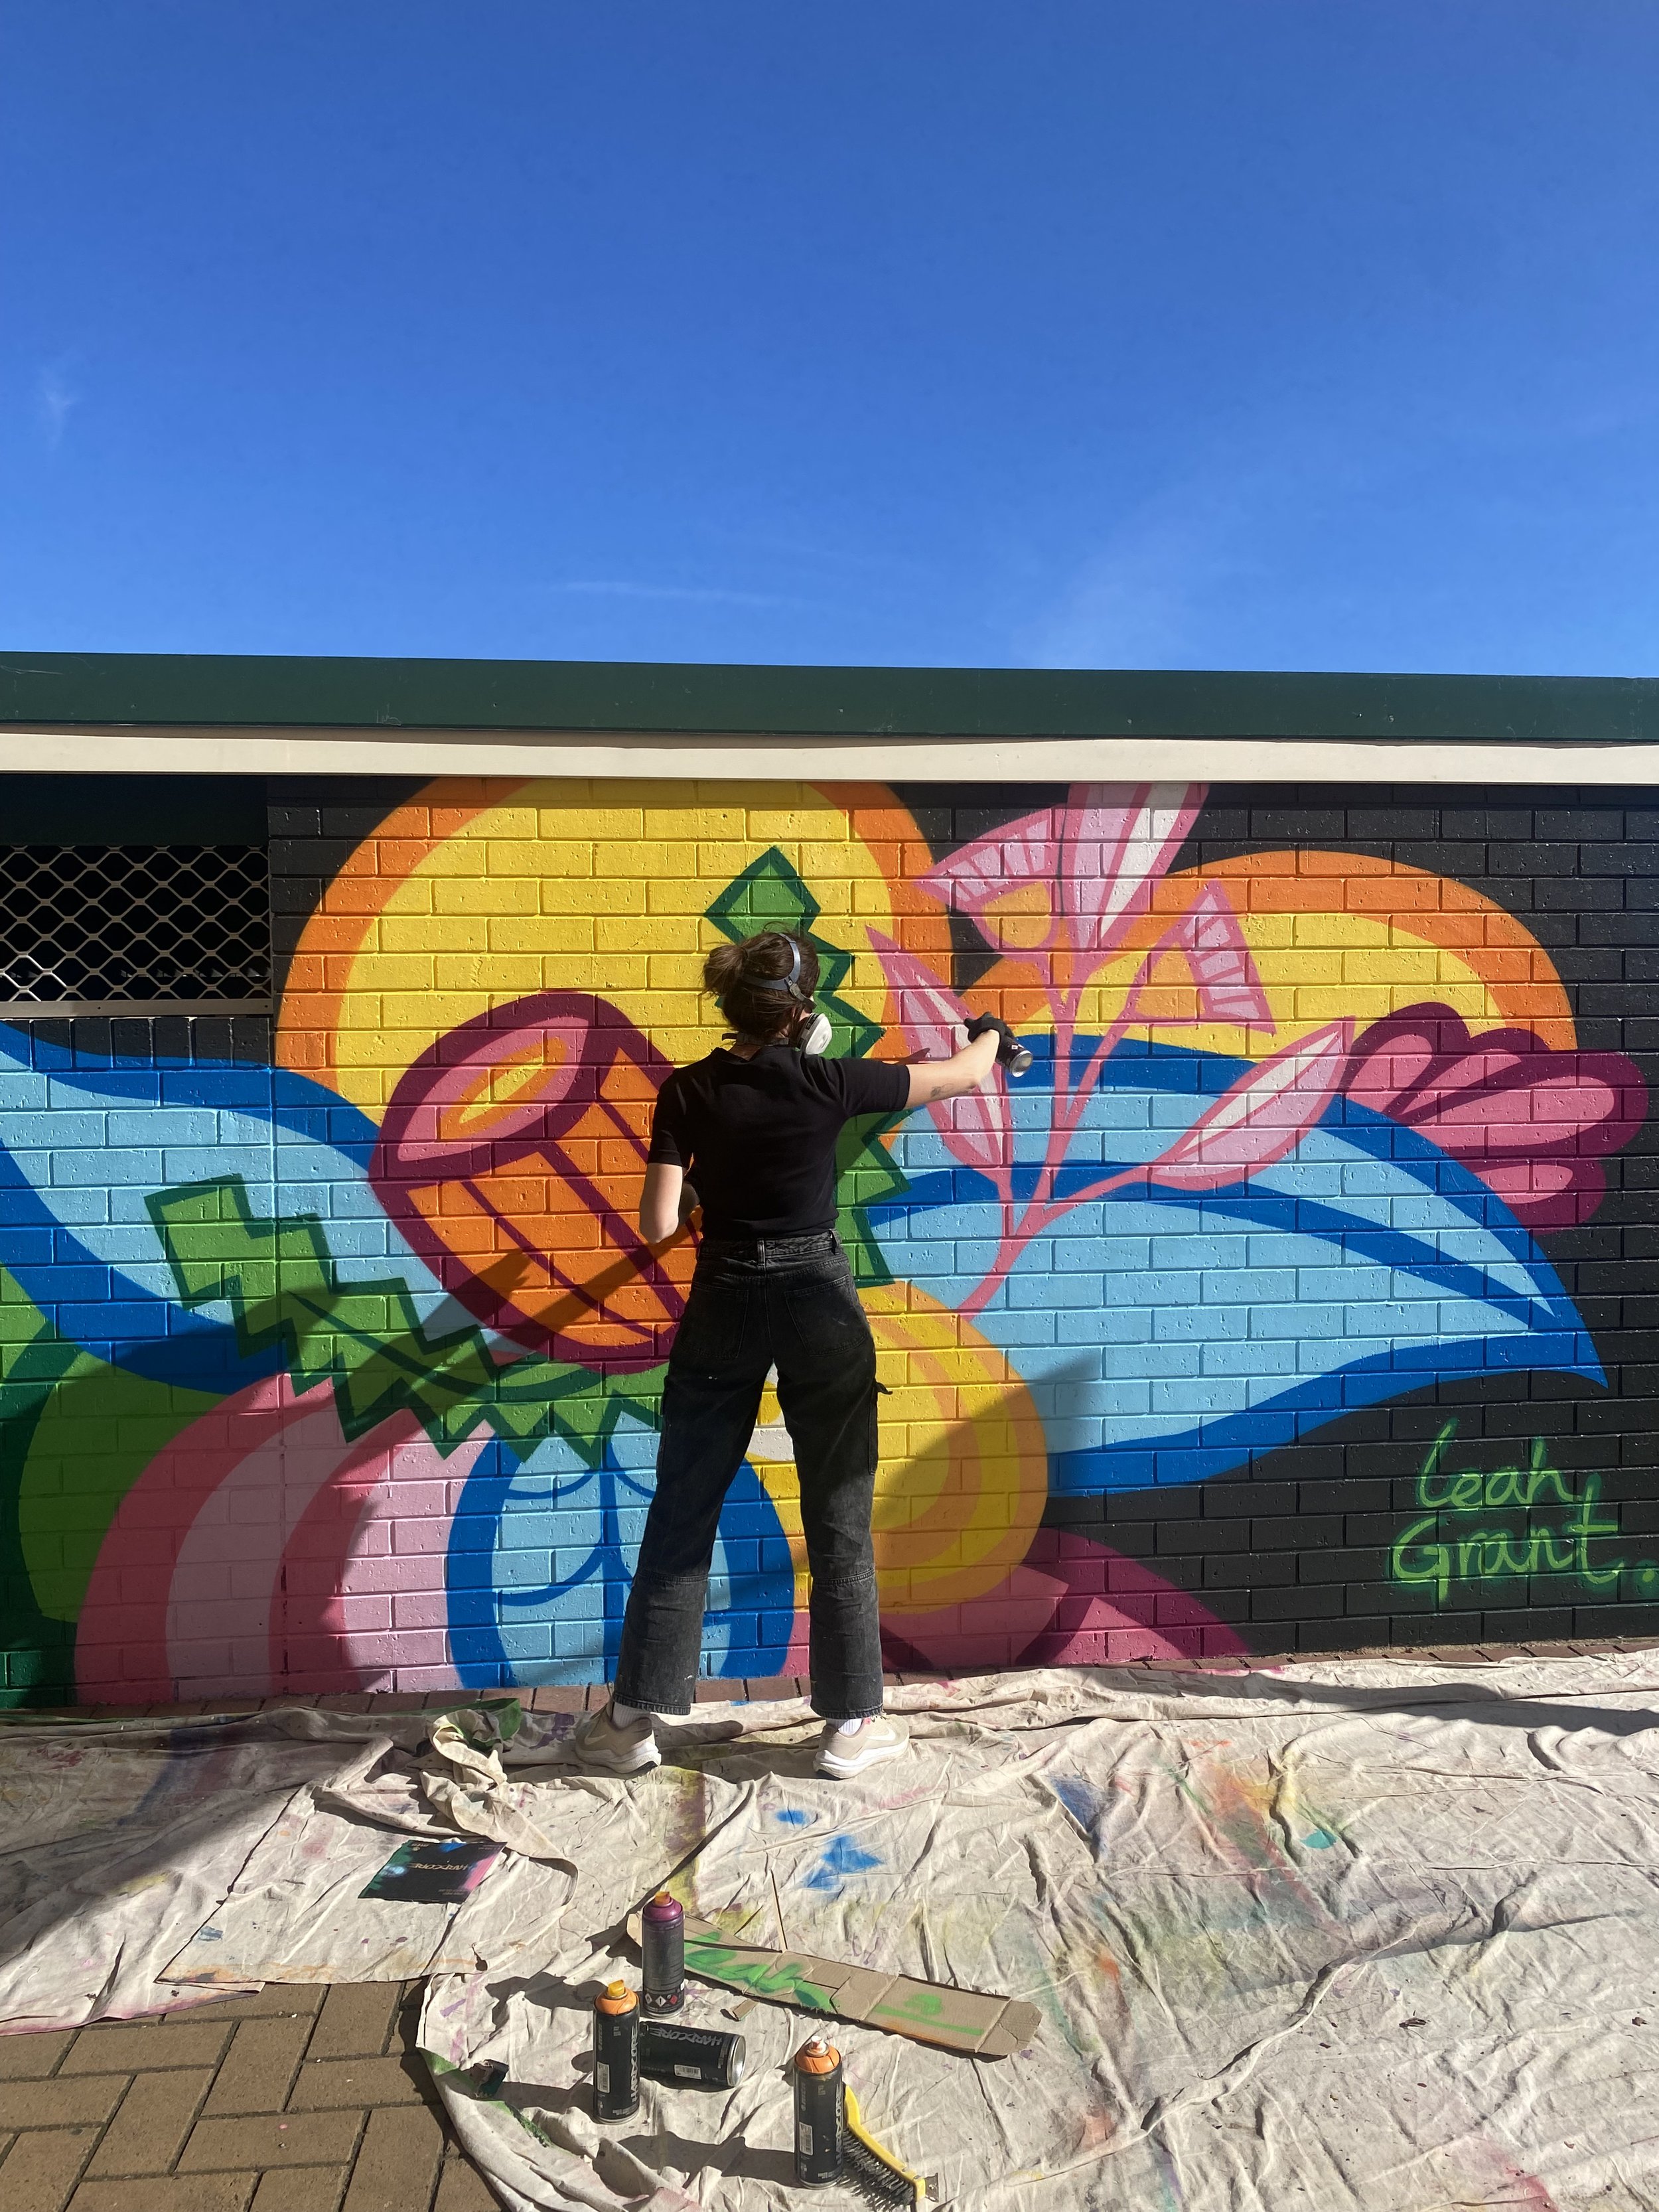
Brick is a perfect texture for a mural. It adds an awesome layer to any design and is mostly straightforward to paint on for beginners or experienced mural artists.
The first solo mural I painted was a brick surface and I fell in love with it. It gives the final piece an authentic street art finish, plus it even provides a grid for mapping out your design.
In October 2022 I painted this mural for 107.9 Life at the front of their studio and it was the perfect surface.
Let me tell you all about it and give you my top tips for painting on brick.
NUMBER 1: PREPARE THE SURFACE
If the brick is raw (without any paint previously painted on it) you need to spend some time preparing the surface if you really want the paint to adhere. For this project, I used Dulux Precision Primer to give it a good layer all over.
This process seems like unnecessary time and money, but it does help the long jeopardy of the piece. You’re not going to notice the difference between an unprimed mural straight away, but a year later it’s likely to have chipped off in sections if it hasn’t been primed before.
Brick is a very dusty and absorbent surface, so take the time to prime and you’ll end up finding it easier to paint the next layer.
NUMBER 2: USE ROLLERS AND SPRAY GUNS
For the priming I used brush with tape for all the fiddly cutting in sections, then a mixture of roller and my Ozito Spray Gun to get the job done faster. The best rollers I’ve found for painting on brick is the UniPro Yellow Stripe 100mm rollers.
It feels crazy grabbing a small roller for such a large surface area, but these little rollers are magic. Because they’re little they can get in and do the mortar, plus they’re more hairy so I just find they get the paint on the rough brick faster. I recently tried out these “clicking rollers” and it was so much easier than wrapping my rollers in plastic. Plus a lot less wastage.
After priming the whole surface, I did an undercoat of acrylic exterior house paint. This covers the wall, giving it a lovely surface to paint on with aerosol, that won’t absorb half as much as if you went straight to aerosol.
Once the undercoat is done I began drawing out my design with aerosol. Making adjustments and refining the shapes as I went. You’ve heard this before – “there are no mistakes in art” – but seriously it’s true! There’s always room for refining and fixing. It’s all learning and it’s fun.
NUMBER 3: MATCH YOUR COLOURS
I built up my design, layer by layer, After the outline of the design was done, I then paint the large sections of colour with acrylic exterior paint. It saves you a lot of time and money if you have your aerosol colours matched to your acrylic exterior paints.
Some aerosols are a bit harder to match, especially if they have some fluro tints, so I always find I get the closest match at Inspirations Paint.
NUMBER 4: Use Night Quill
This mural was my first experience trying out Night Quill and I’m so impressed! Usually, when I’m spraying all day, my hand starts to cramp up. I’ve become fairly ambidextrous when it comes to spraying, just so I can give my right hand a break (I just can’t do any detail with my left! I don’t have the control).
Using Night Quill, was really simple, you just clip it on top of the nozzle and it is less strain on your finger. I’m going to be buying up on these for teen and kids aerosol workshops.
These are a must for any art classroom!
Most kids from Year 6 can hold down a nozzle. But I’ve often had a student or two with small hands that struggle to hold down a nozzle and therefore don’t have much control with a can. This is a total game-changer for kids or anyone using aerosol for long periods of time.
Big THANK YOU to 107.9 Life for inviting me to paint their building. Thank you to Dulux for sponsoring this project and supplying the best quality paint. And thank you to Aaron Au-Duong for taking most of these photos and coming along each day to watch, learn and assist as I mentored you.
Have you got a brick mural project coming up? I’d love to hear about! Let me know if you have any questions about the process too.
Bright and colourful mural for Tyndale Christian School in Adelaide. Here are some questions from the students about the process of installing this mural for their courtyard.


