Tyndale Christian School
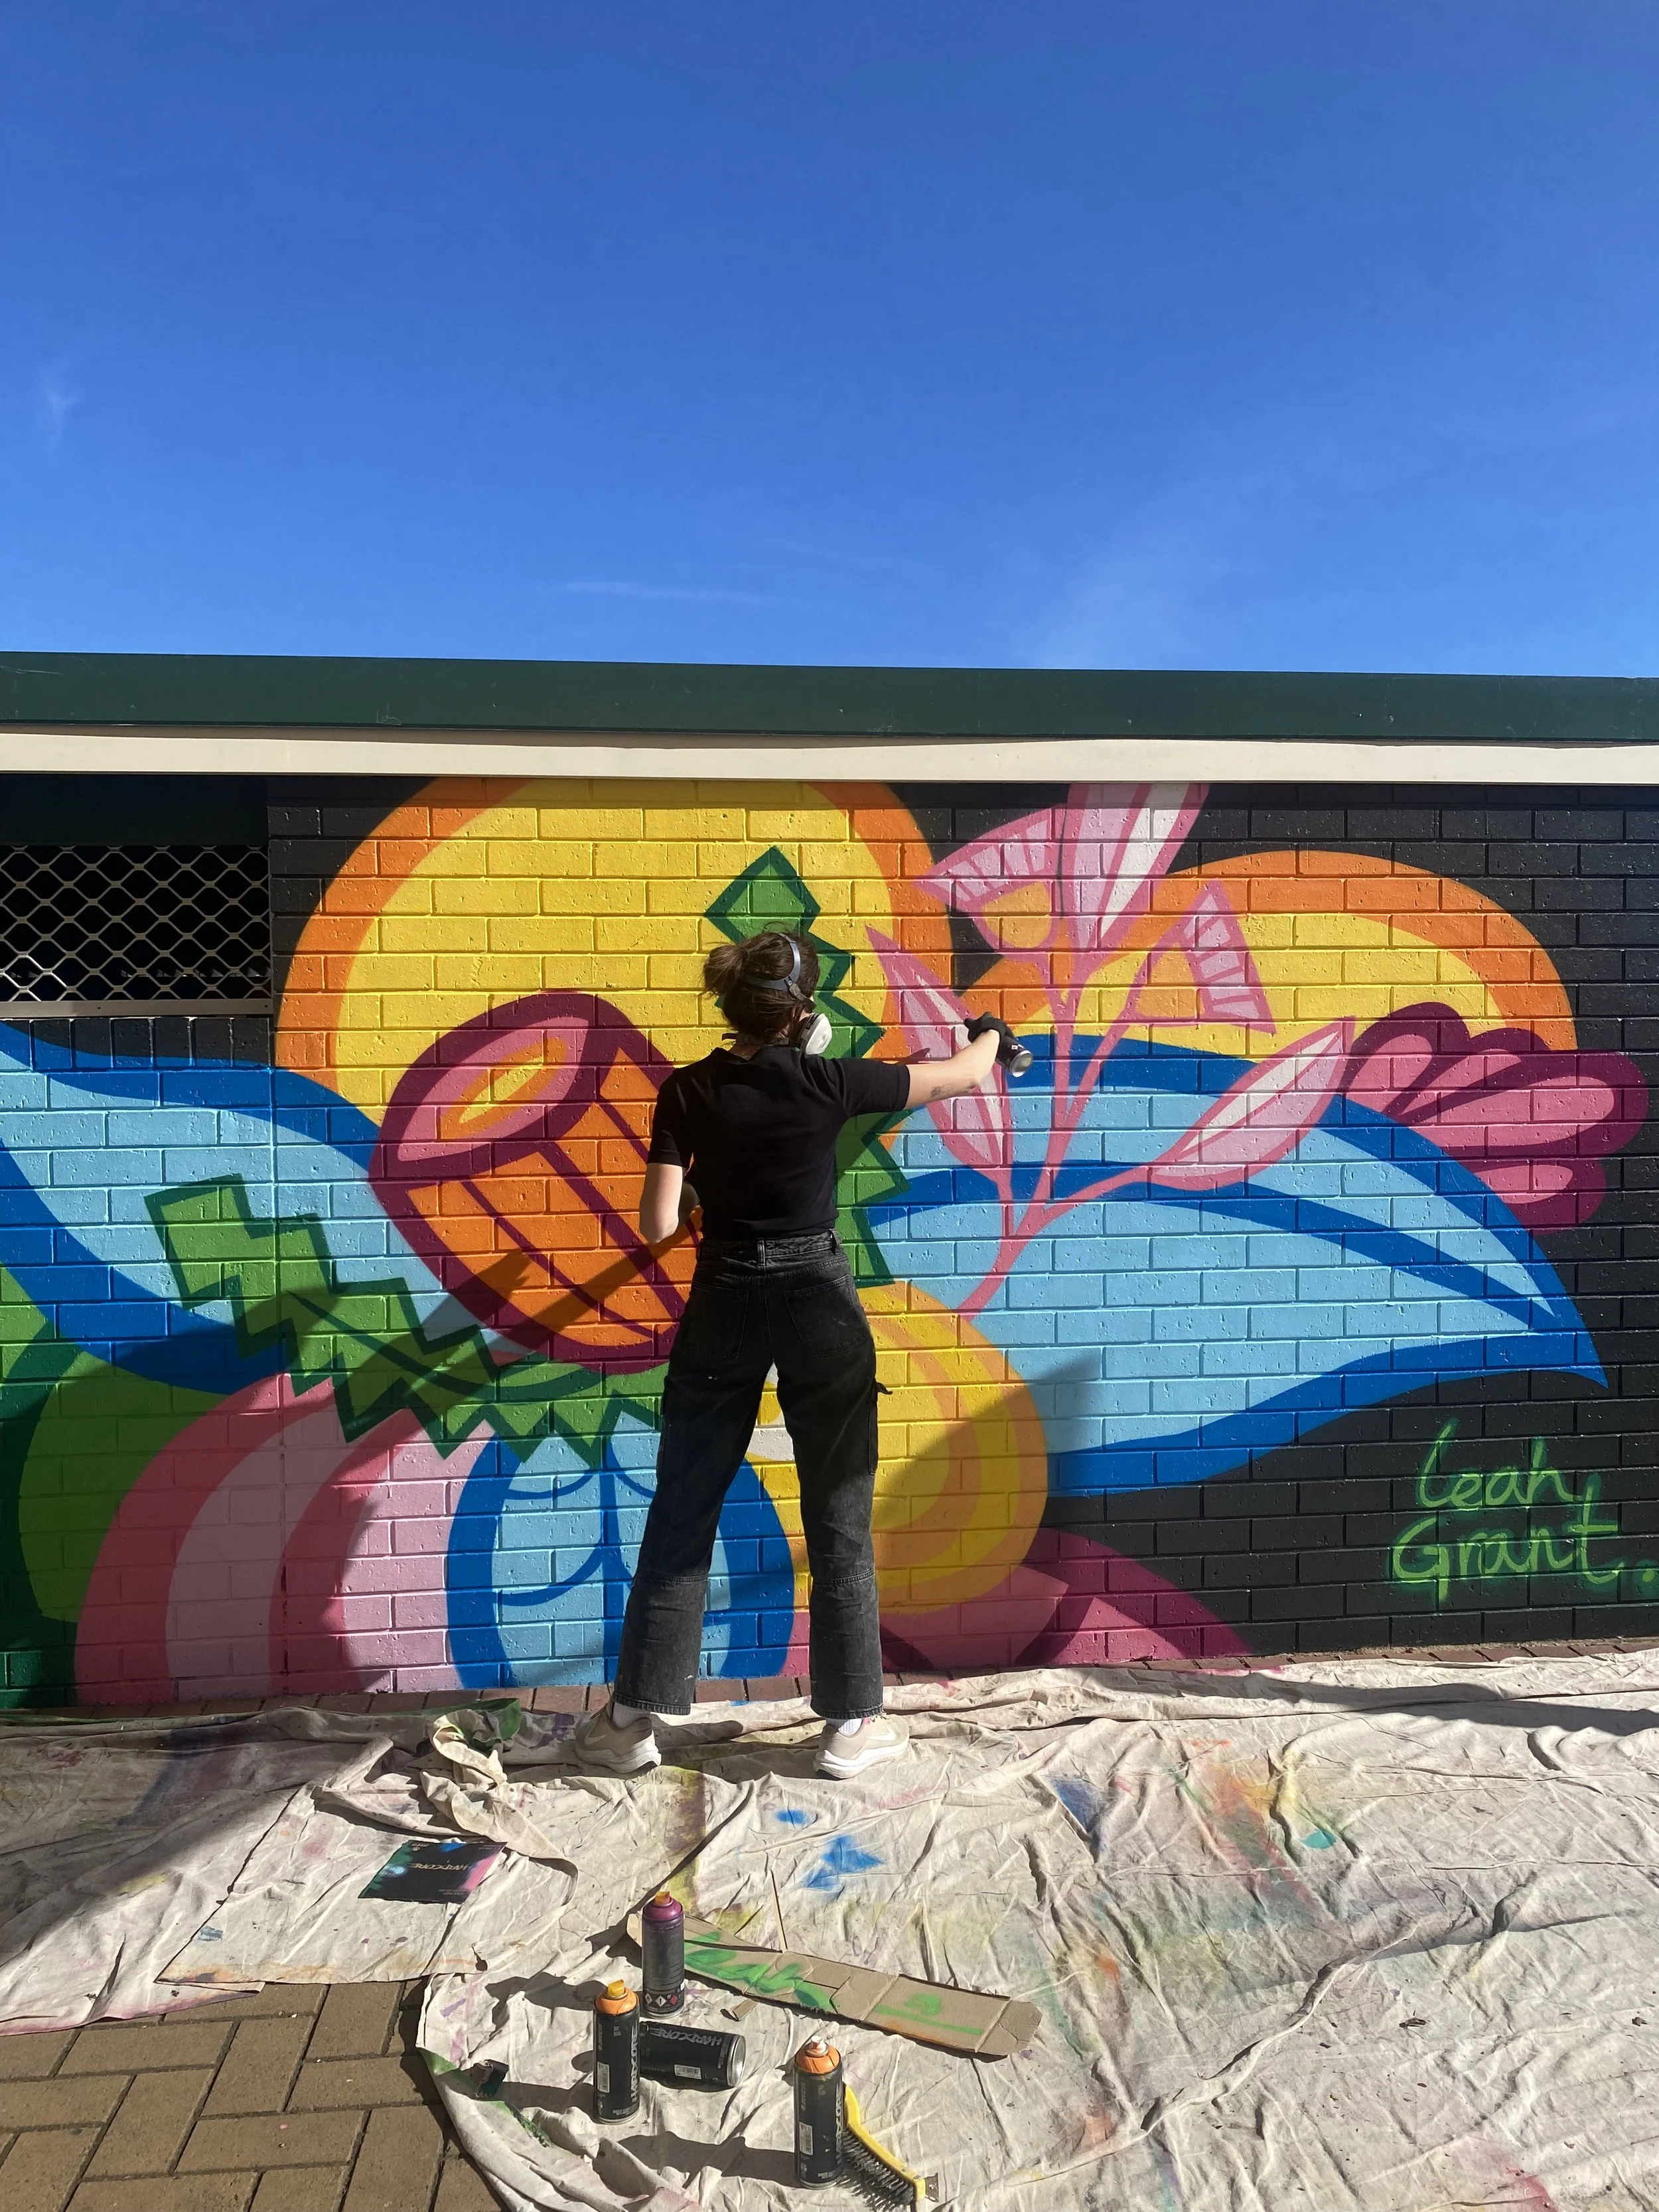
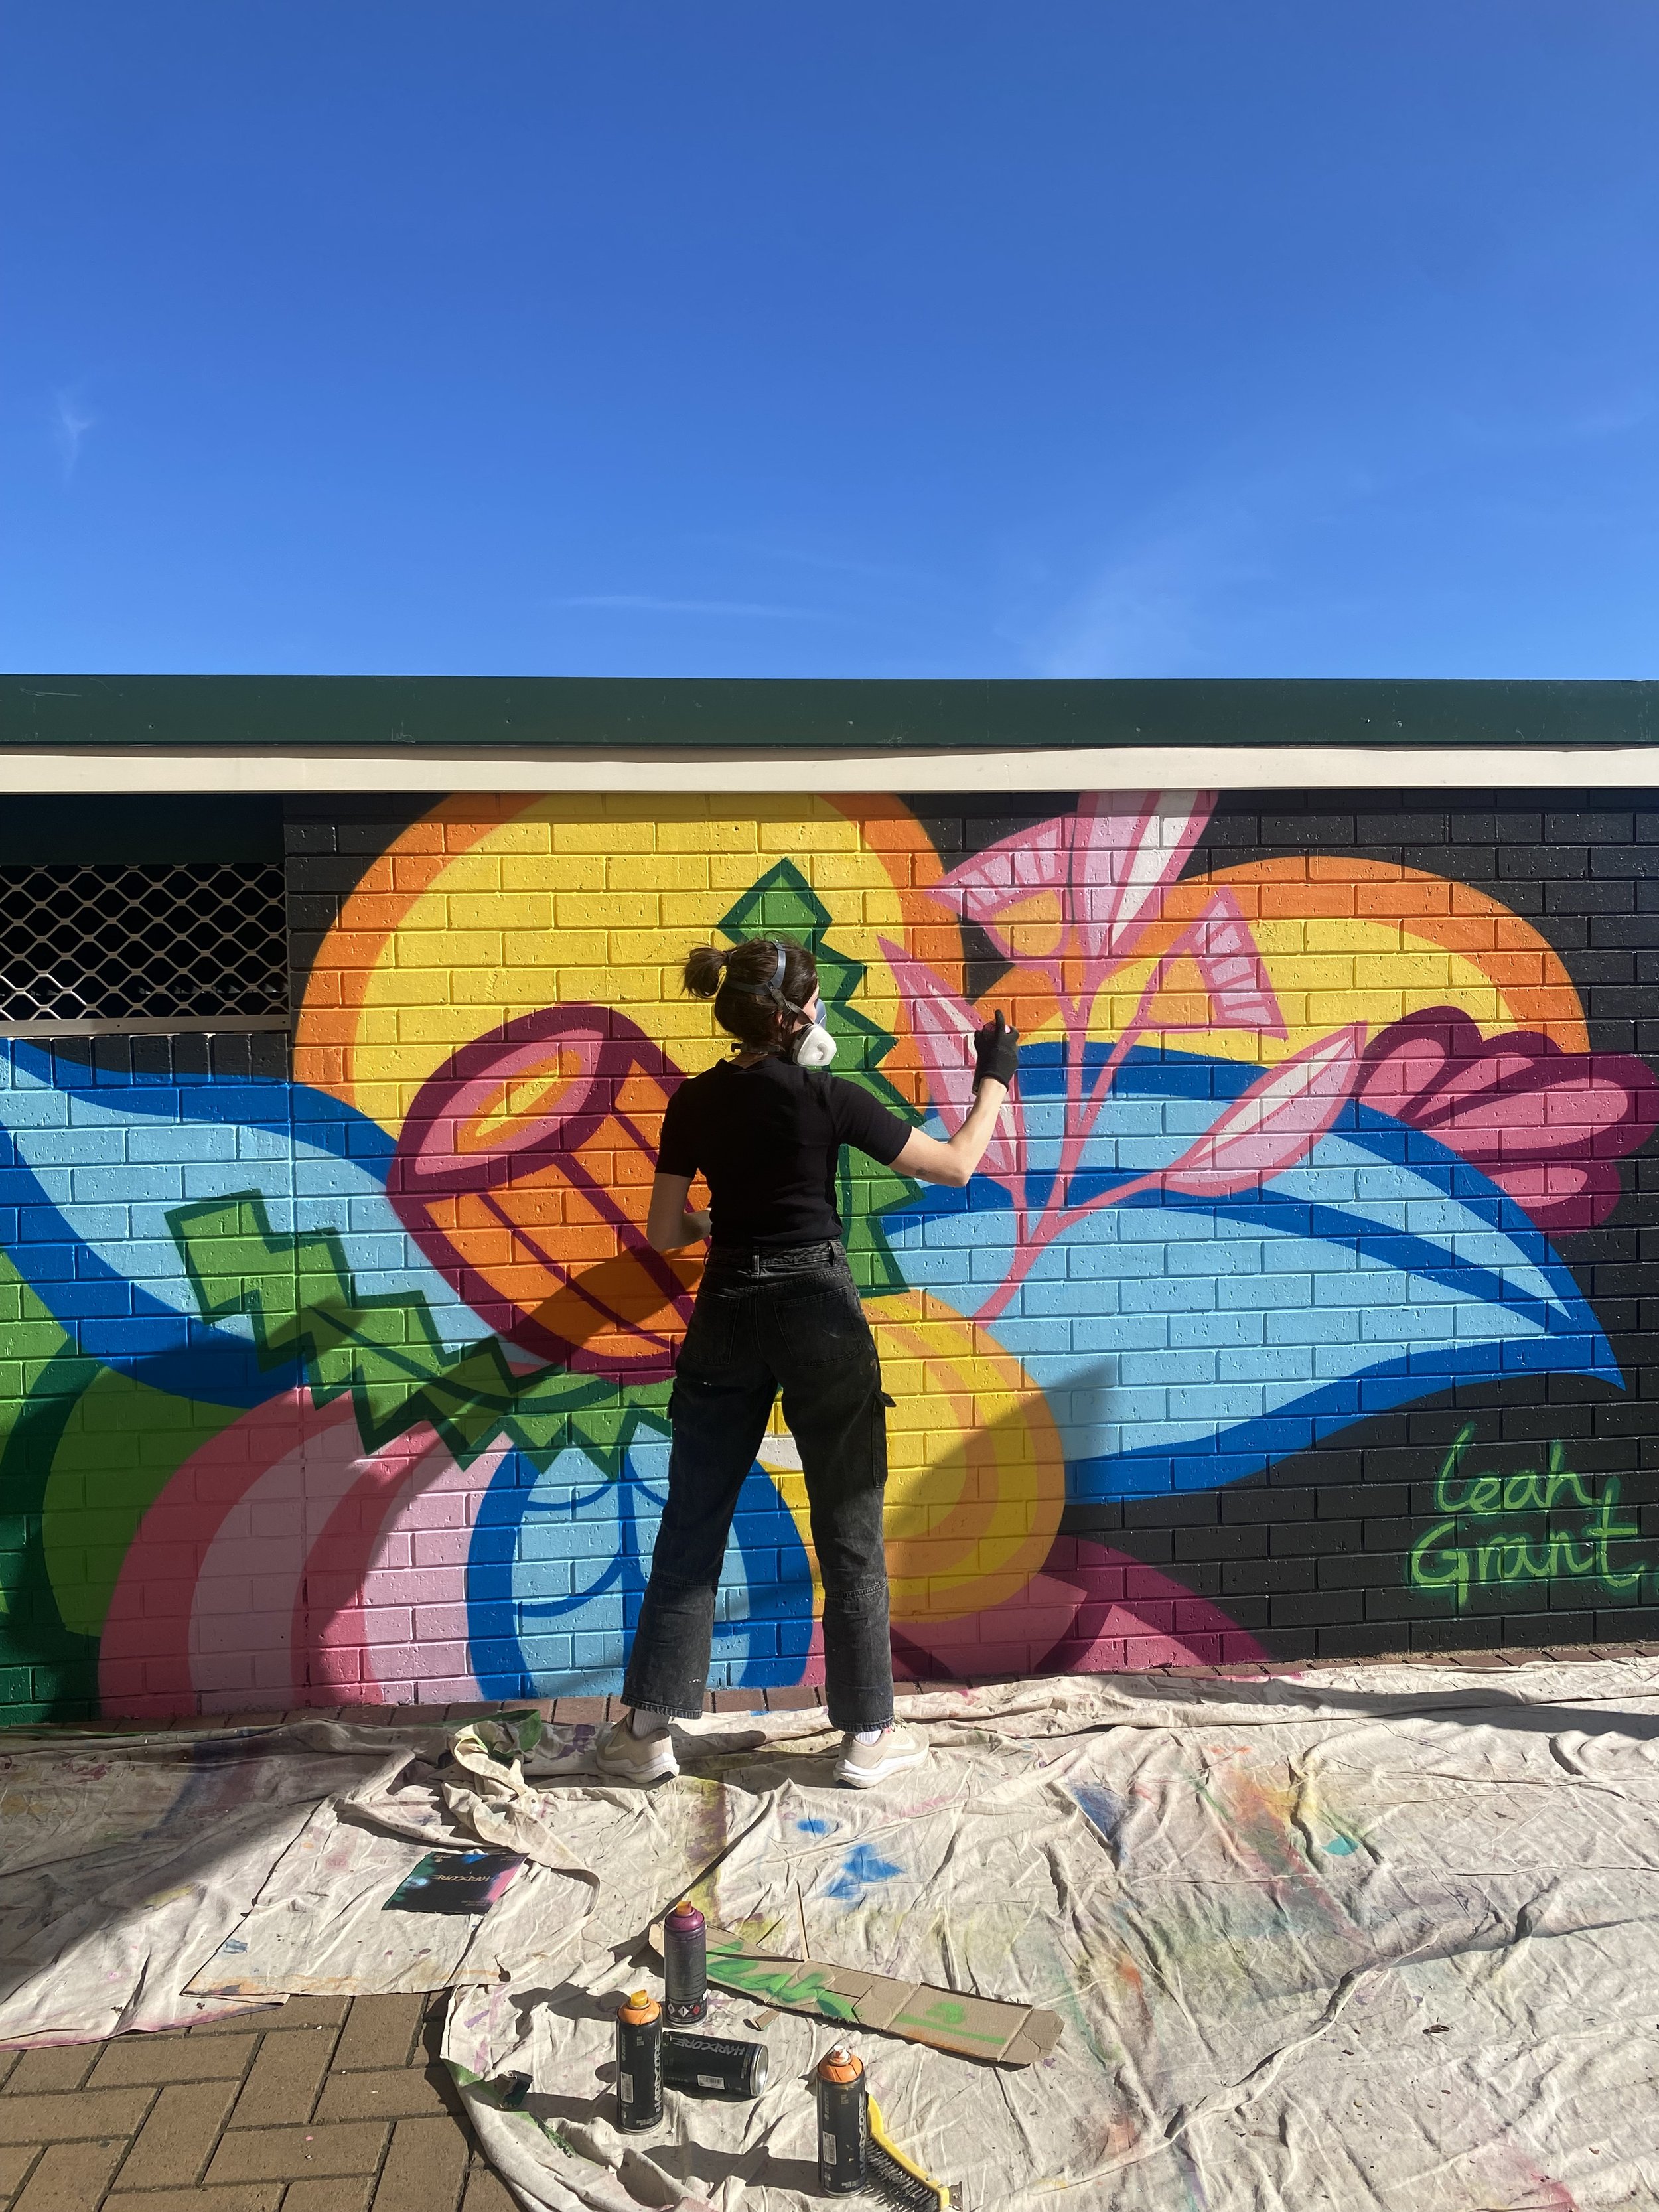
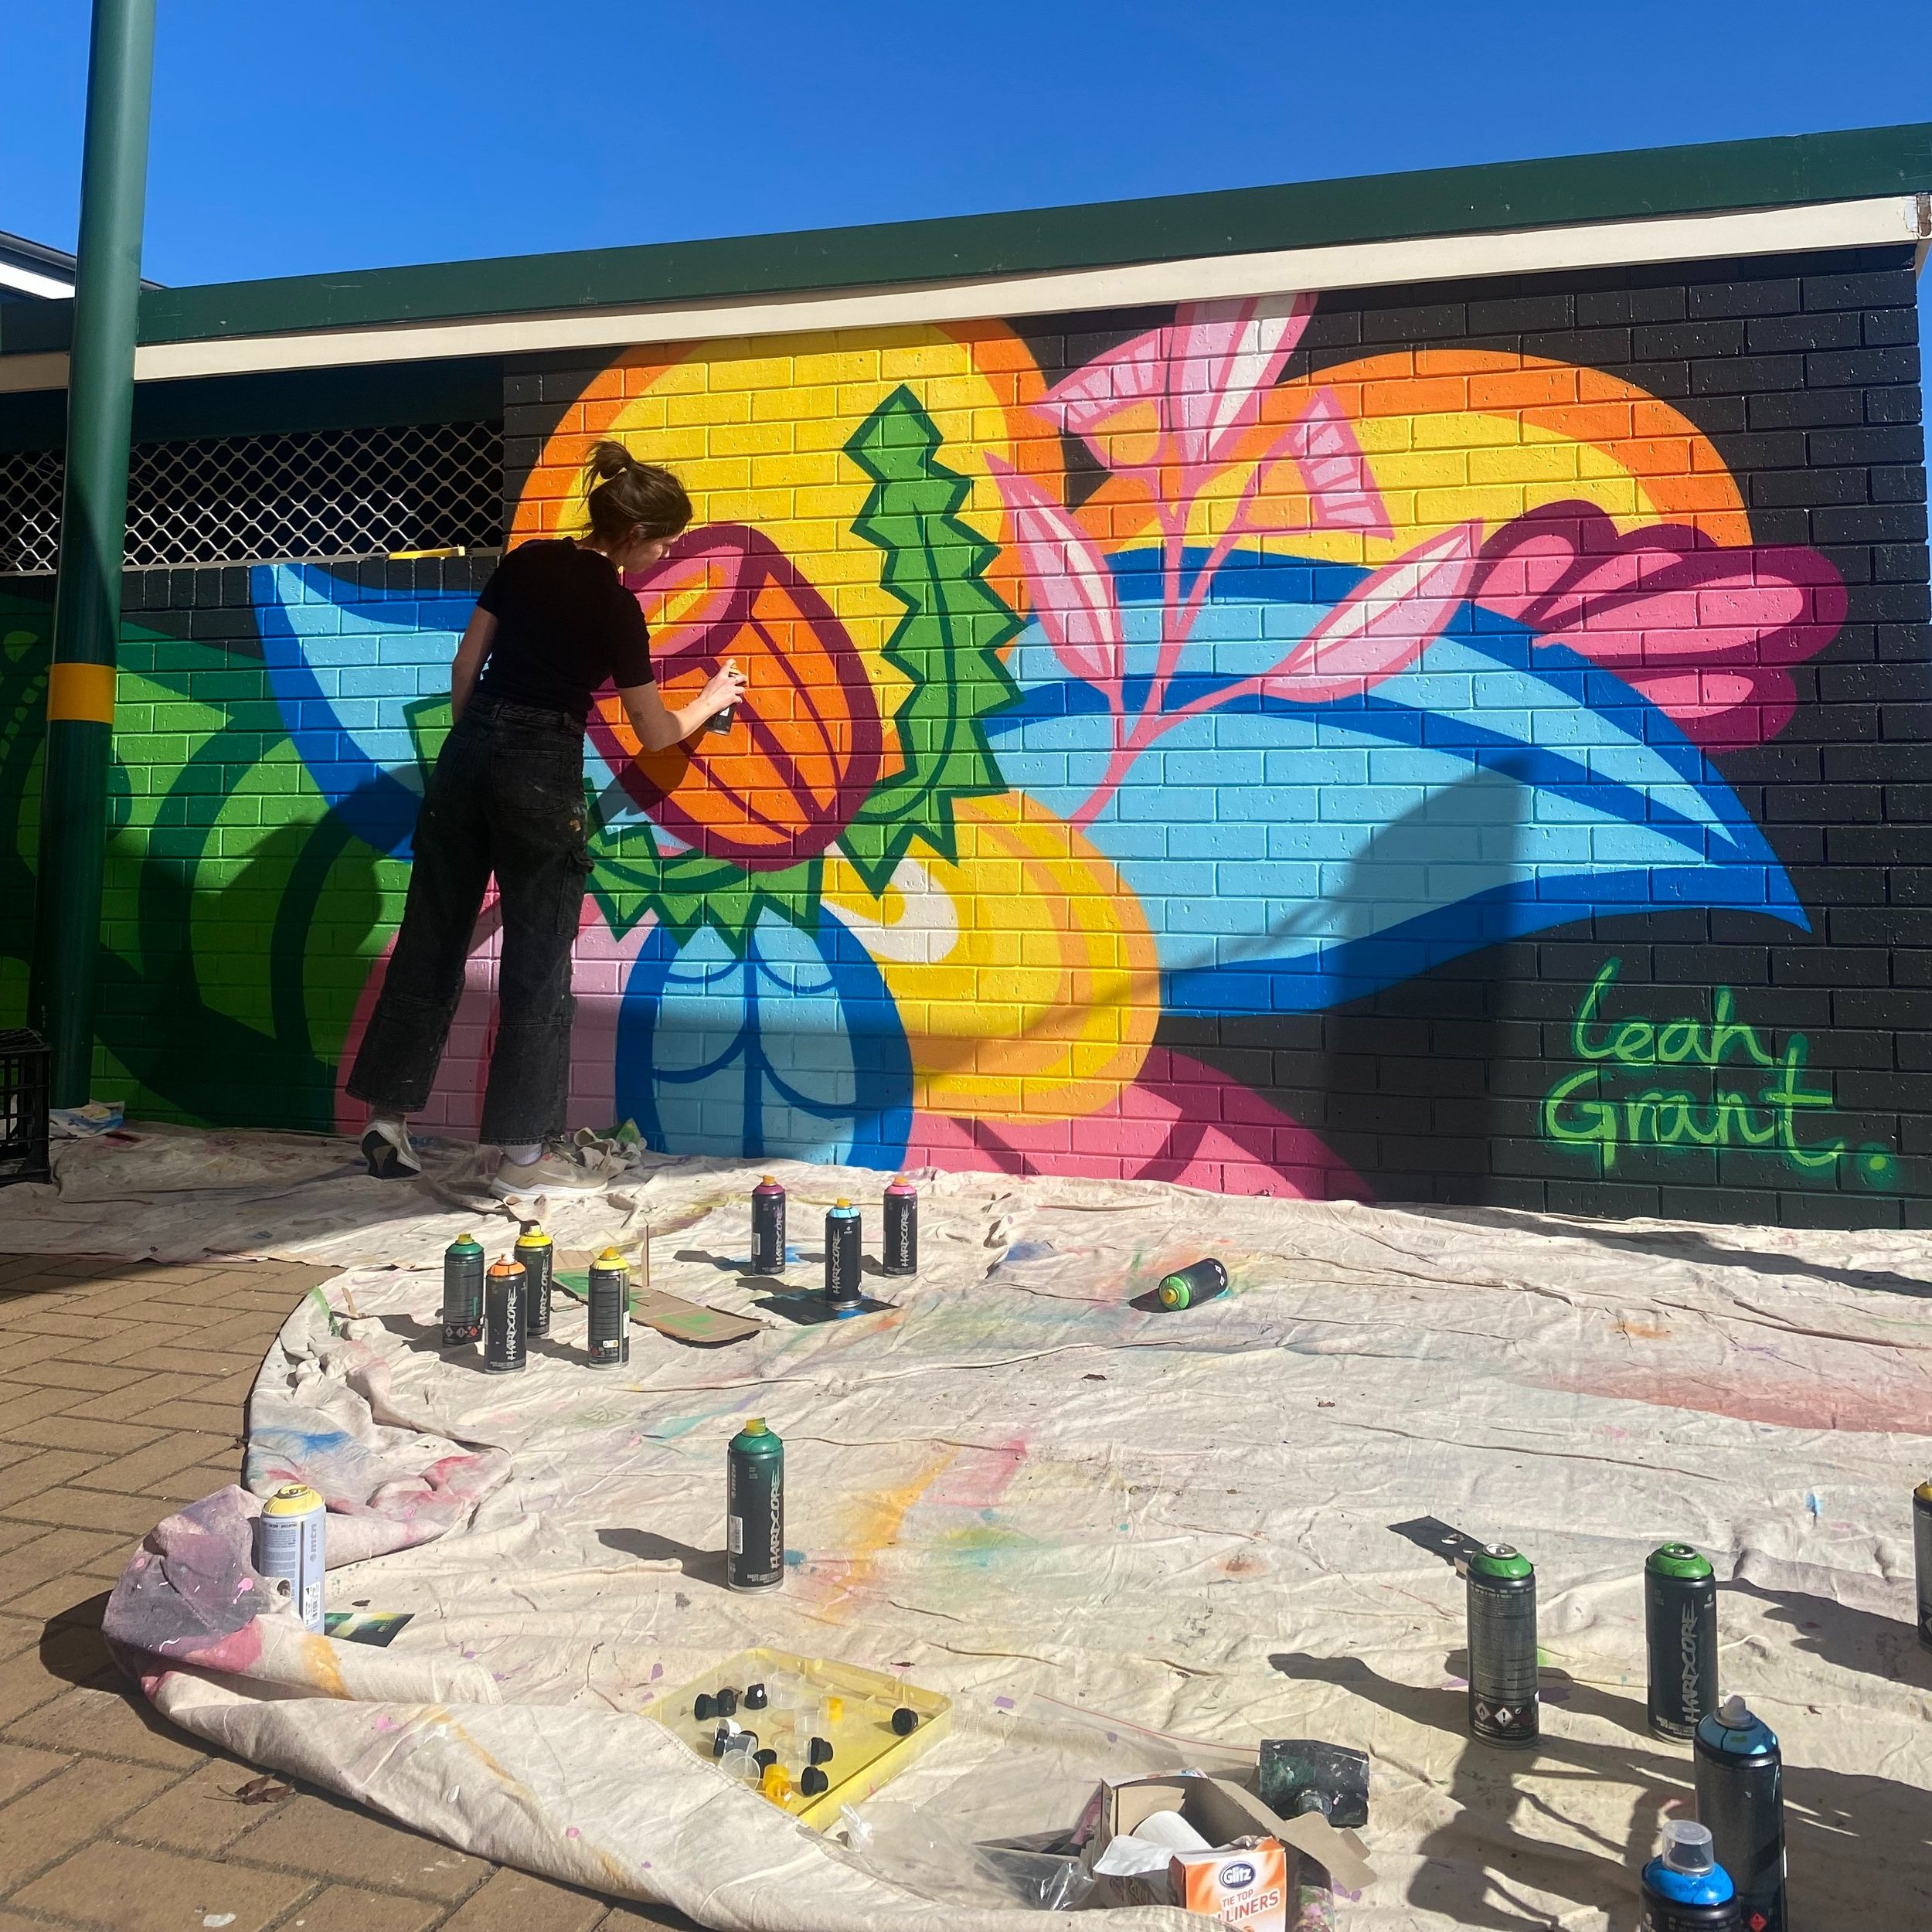
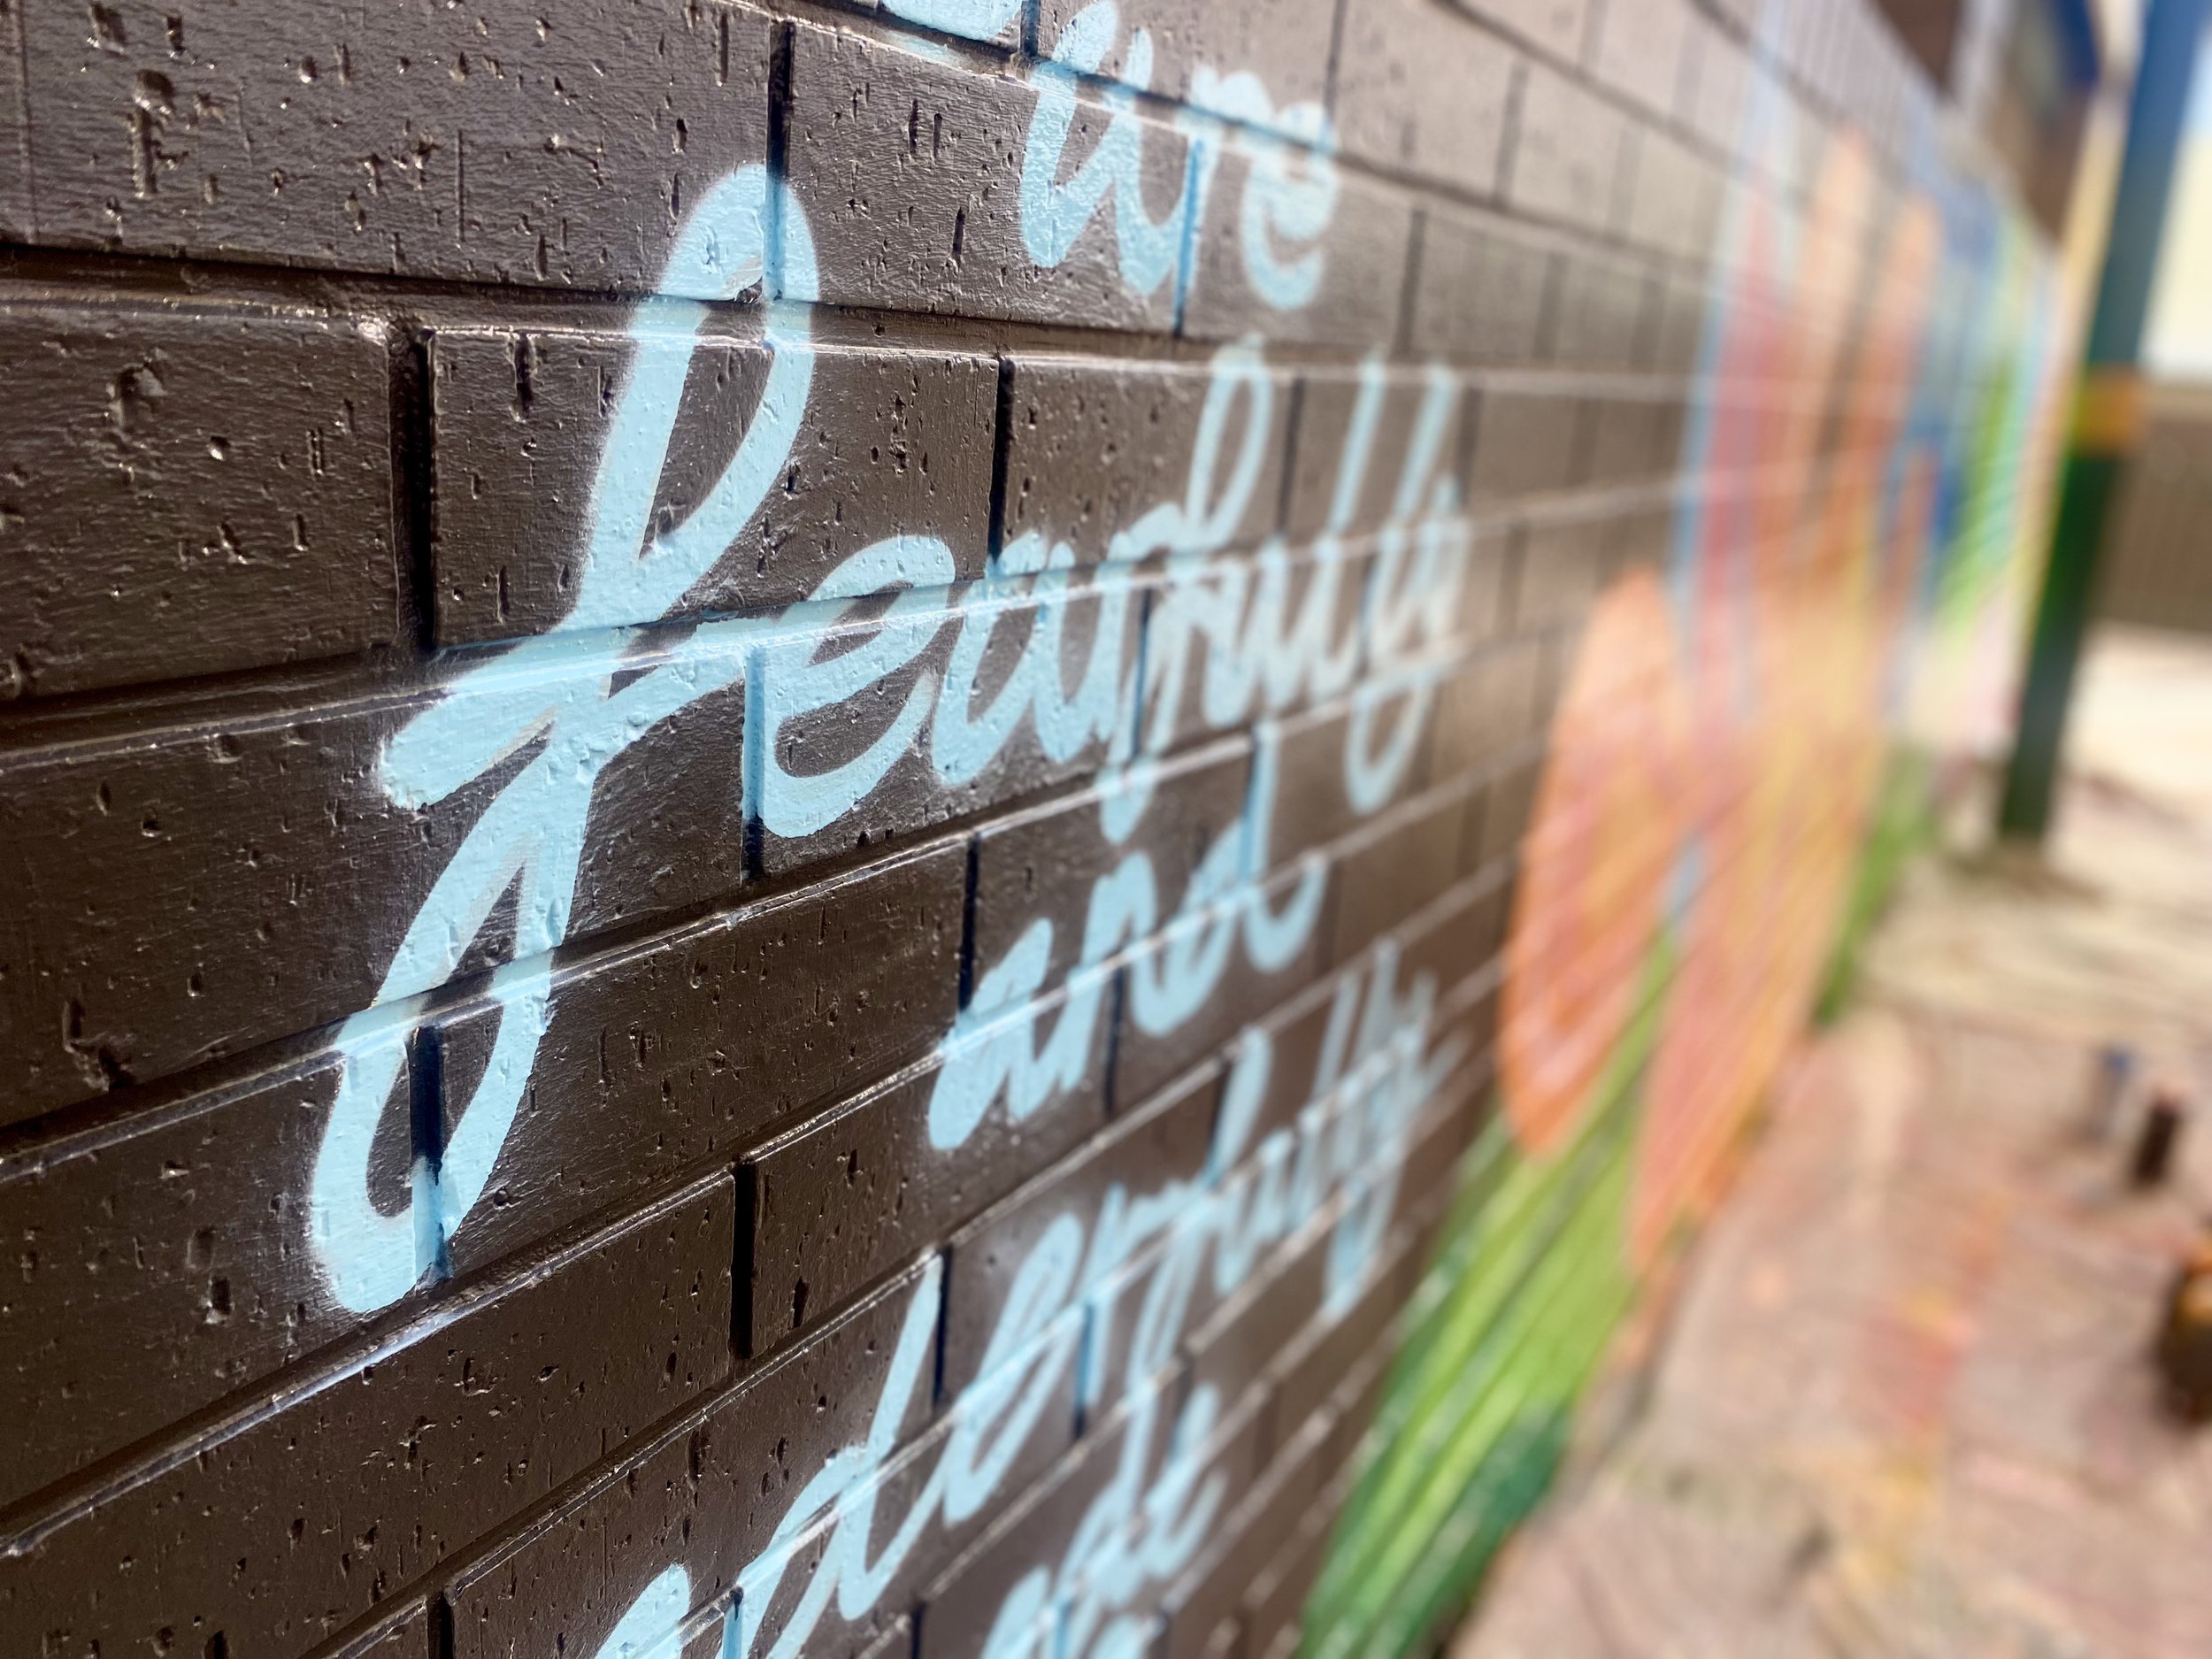
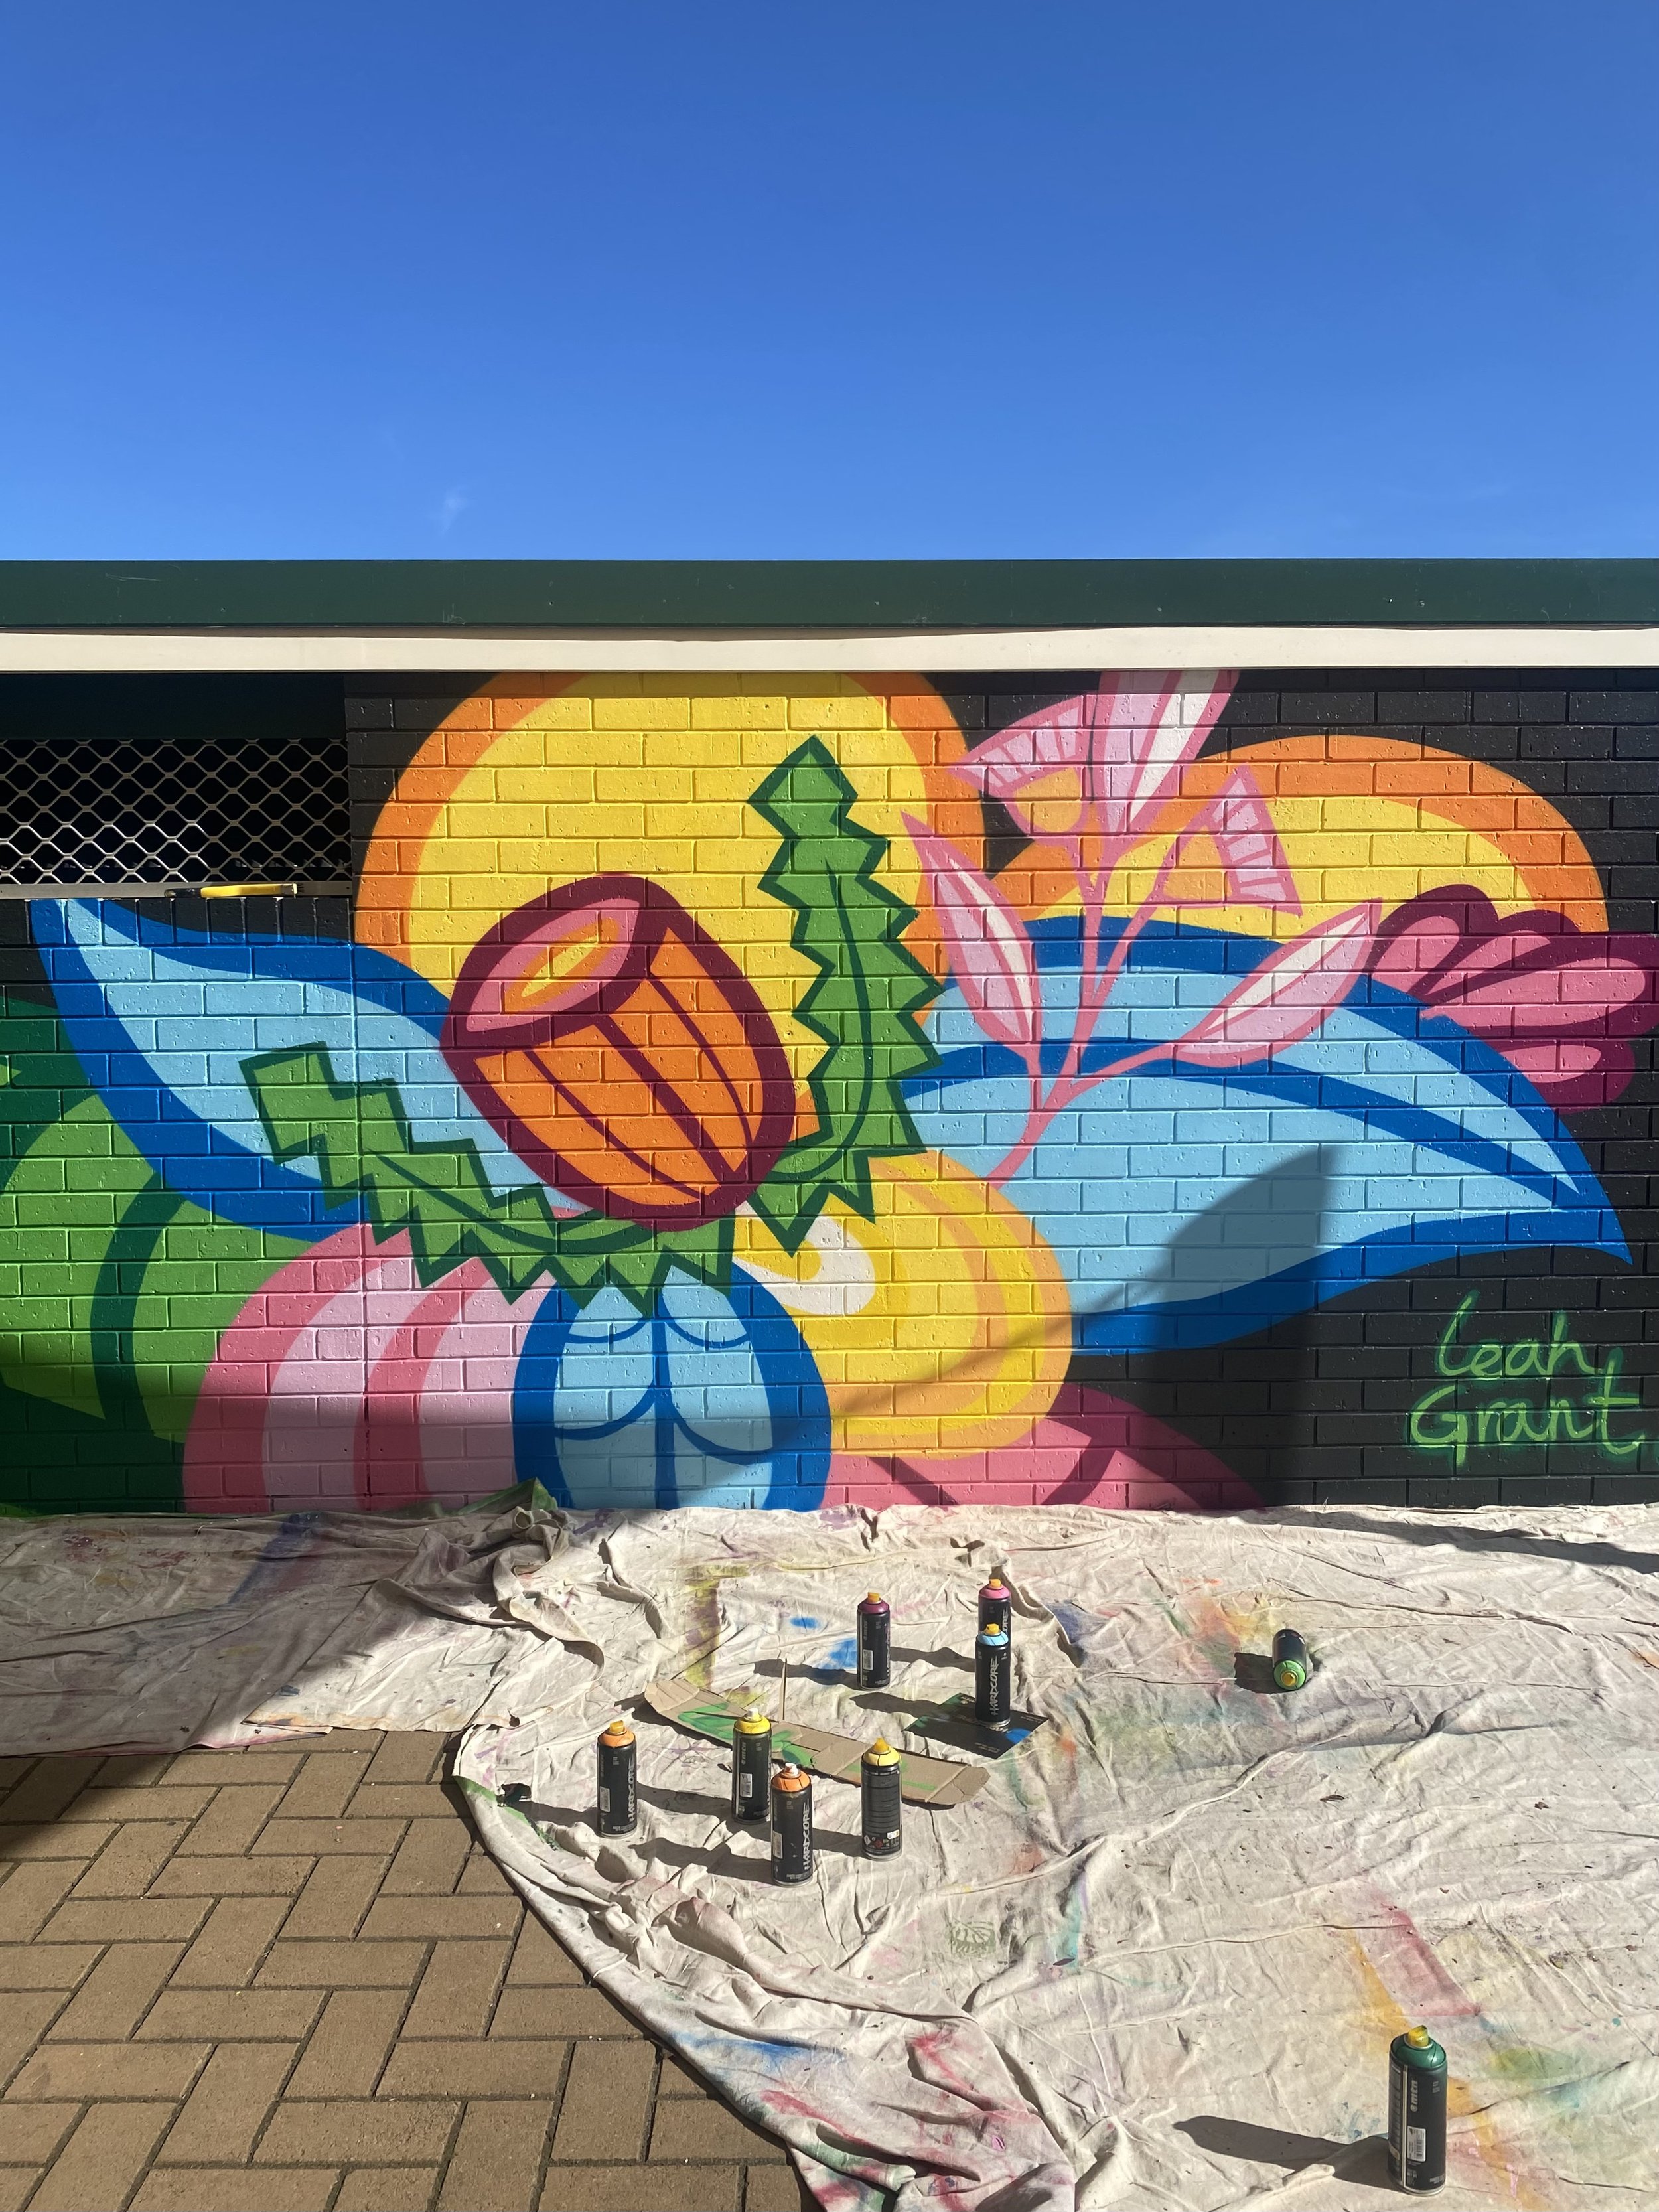
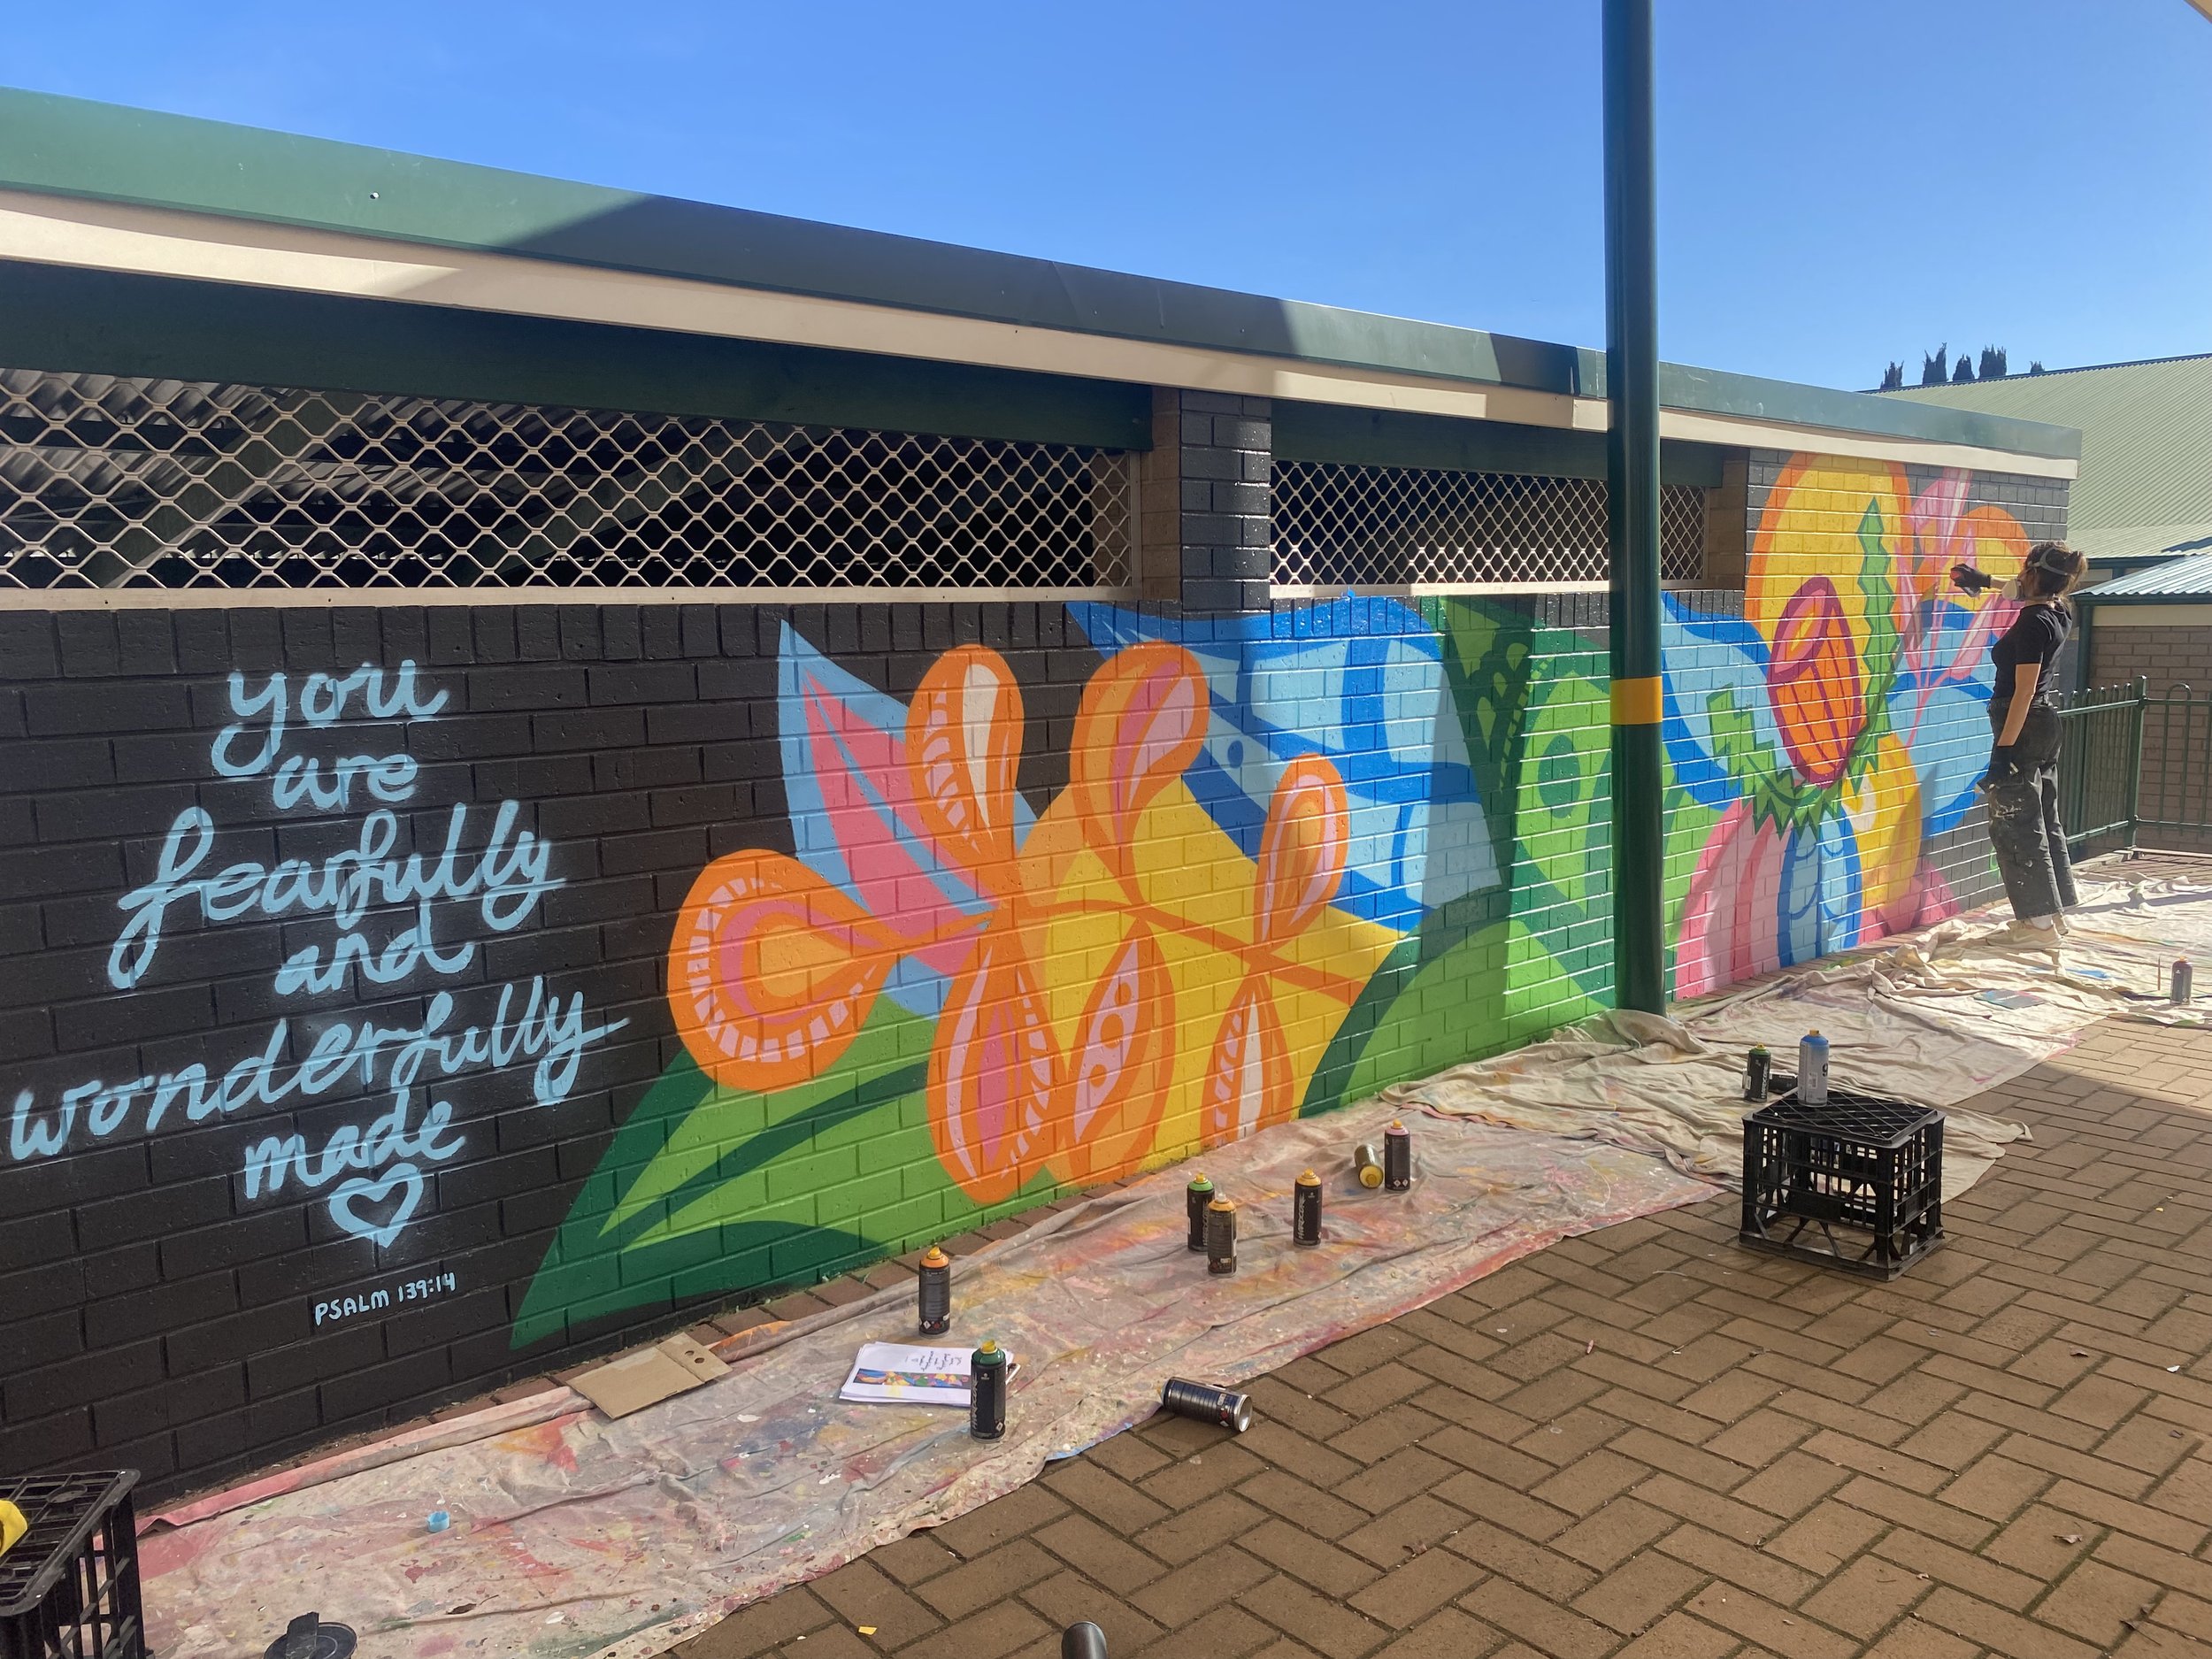
Thank you to Tyndale Christian School for inviting me to paint a mural for your primary school courtyard. The brief was to cover this brick surface with a vibrant mural, inspired by nature and include the Bible verse “You are fearfully and wonderfully made” from Psalm 139:14. The final outcome has definitely fulfilled that! The response from the teachers, students and community has been very positive.
Thank you to Art Teacher Denise Lediaev for organising this project. Denise has one of the best primary art room set ups I’ve ever seen, her room is oozing with creativity and it is very evident she has built a thriving art department.
During the mural installation I had the pleasure of having Tali de Lacy assist me. She has a passion for public art and incredibly high attention to detail. Thank you Tali for all your hard work and entertaining stories while we painted together.
“The mural Leah created was even better than I could’ve imagined. I love the bright, bold colours. The design process & the consultation beforehand was all excellent. I highly recommend Leah! She made the whole process so easy. She really listened to what we wanted and was able to give helpful advice during the design process.”
Q & A
Questions from Tyndale students about the mural installation process.
How long did the mural take to paint?
Quite a lot of planning went into this mural, that’s the part that takes the longest actually! The installation of this mural took two full days and that was with a painting assistant.
How do you draw the design large?
I use the wall as a grid, breaking the design into sections. It’s really quite similar to drawing on a piece of paper, you just use your whole body to get those lines. Your knees help you draw!
Is brick hard to paint a mural on?
It’s bumpy! The brick has an amazing final finish, adding a textured pattern to the design, but it does make the installation challenging. Because the brick was raw, unpainted before I started, I first primed the surface with Dulux Precision Primer. Then I painted two coats of the grey and a pastel colour for the area where the leaf shapes would go. This is quite time consuming and you have to allow time for the brick to dry. The hardest part is how exhausting this stage is. You need to use a lot of arm strength to roll the paint and paint in-between the bricks where the mortar is. It’s quite easy to paint on brick with aerosol, so once you get to that stage, it’s really fun to draw on brick.
How did you come up with the design?
I created three design options of the school to choose from. Each design was inspired by nature and the colour selection was based on a previous mural I had painted which the school particularly liked. When I’m drawing my designs I draw with black pen and focus on the lines and shapes to create patterns that are suitable for the wall surface.
What paint did you use to paint this mural?
I used a acrylic exterior paint (what you use to paint a house) for the grey and undercoat colours. Then I used aerosol paint for the large shapes and outlines. My two favourite aerosol brands are Hardcore and 94s, both are Montana brands.
How do you get crisp lines and sharp edges?
Two things help with this, first is the type of nozzle I use on the aerosol. A skinny cap helps slows down the paint and sprays at a smaller diameter. I use a skinny cap for all the outlines of the shapes and also angle the can in the right direction to get a smooth line. The other super handy tool is a piece of cardboard. It’s such a simple thing, but I use it so much to mask of corners and lines and help with creating corners. I used this a lot on the green spiky leaf.
“Being mentored by Leah has been a fabulous experience. It was great to see Leah work alongside the Tyndale community to plan a mural that was bright, joyful and reflected the school values. ”

